


Apple Sign in for React Native Apps
How to integrate Apple Sign in button in React Native and Node js


Is your React Native App rejected by the App Store? If you are using social login of any kind in your app, it becomes mandatory to have Apple Authentication before making your app live on the App Store.
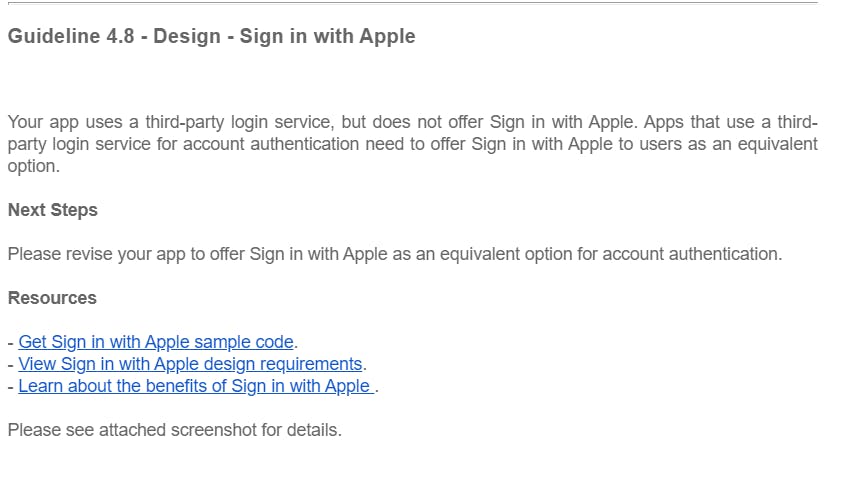
If that's not your case and you, somehow, still need to have Apple authentication(sign-in) in your app, here's an easy and effective way of doing that. If you need a yet detailed blog on this, there's one by Ross Bulat. You can find it here. But I will be keeping it short and sweet. 😉
We will be first designing our button in our frontend and then we will be moving on to the backend and save the data to our database.
Please note: I am using the following tech stack -
- React Native [Frontend]
- Node JS + Express JS [Backend]
- MongoDB [Database].
You are free to use any database of your choice. However, please make sure that you are using React Native on the frontend and Node JS in the backend.
NOTE: If you are using Django in the backend then you can follow the frontend steps here and for the backend visit this link.
Pre-requisites:
Setting up the XCode and developer credentials.
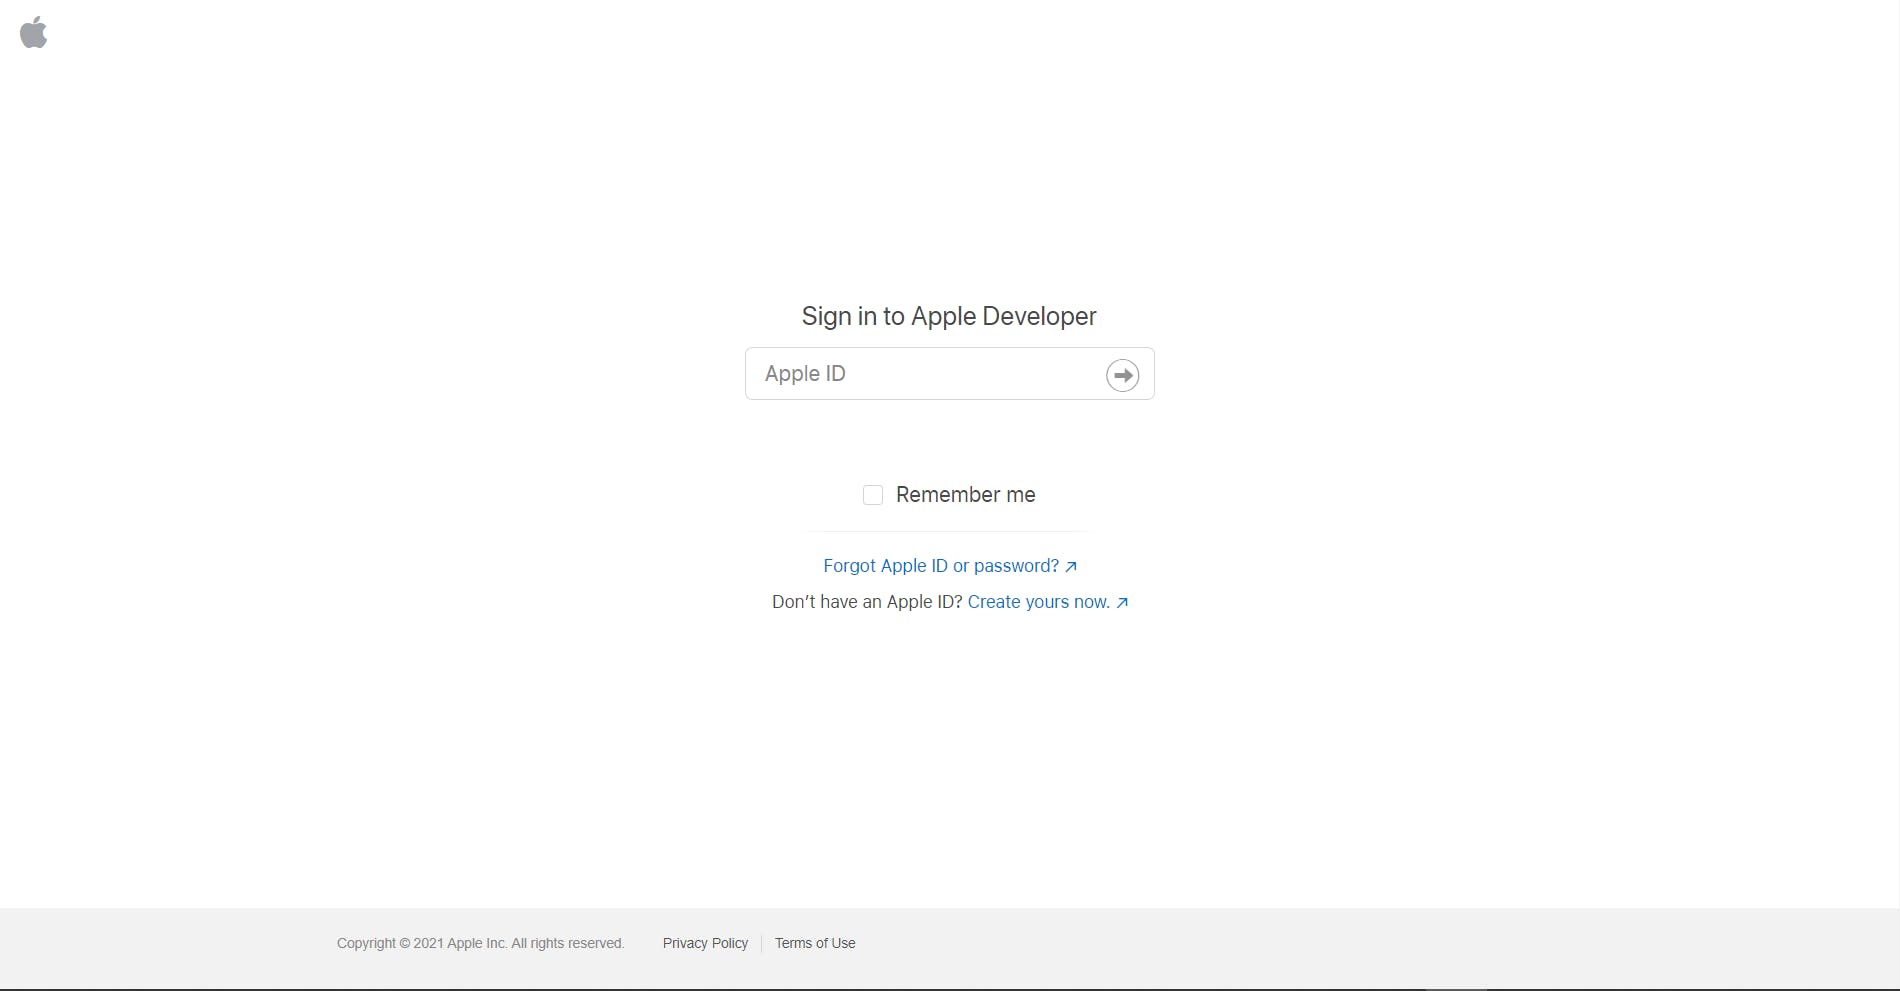
• Open Xcode, and look for the Signing and Capabilities tab hit the '+' icon, and add Sign in with Apple. Save your project. • Open your browser and head over to the Developer Account and log in.
• Head over to 👇
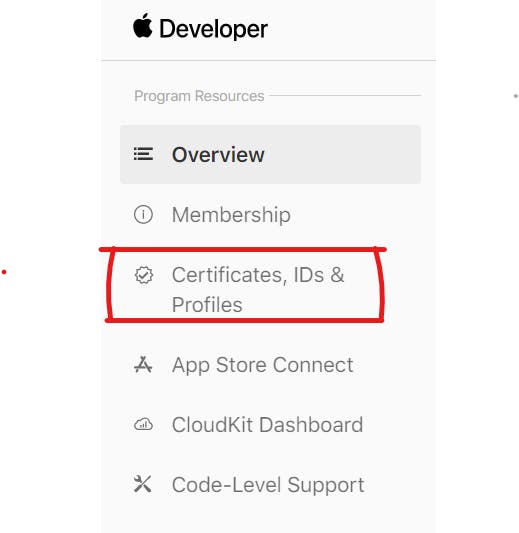
• Next to Identifiers => Click on your App ID.
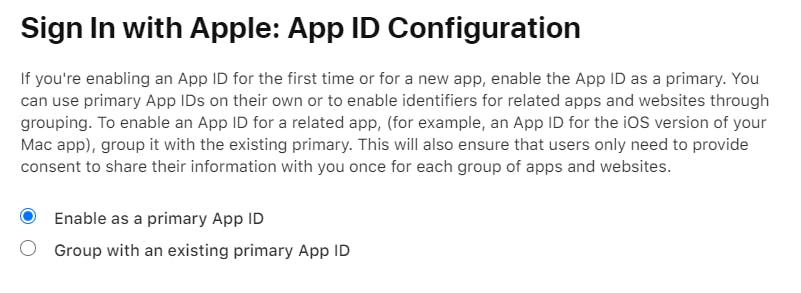
• Scroll down till you find Sign in with Apple Capability and click Edit.
• Make sure that you see something like this. Else, Go ahead and select Enable as a primary App ID and Save it.
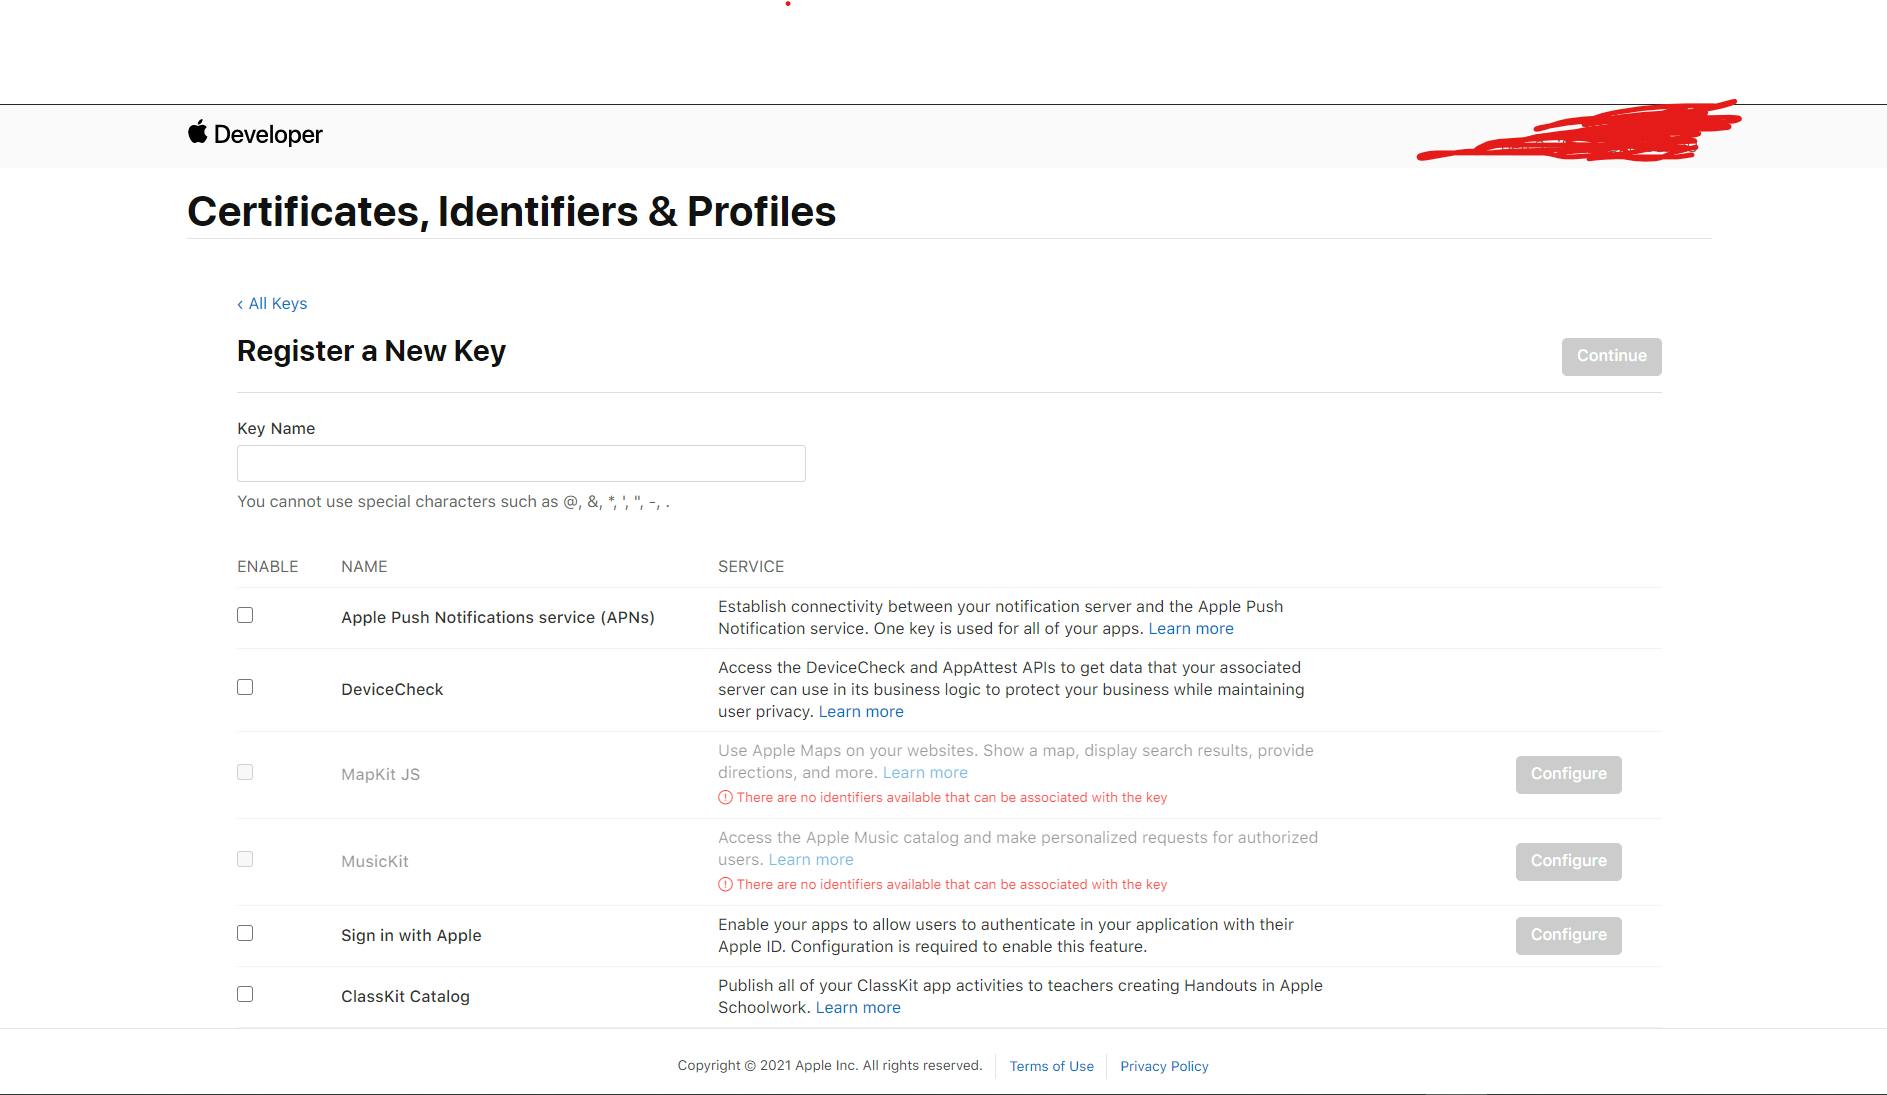
• Now Move to keys and Add a Key. Select Sign In with Apple. Download the Key and save it onto your local disk.
Now let's Jump into our React Native project.
STEP-1:
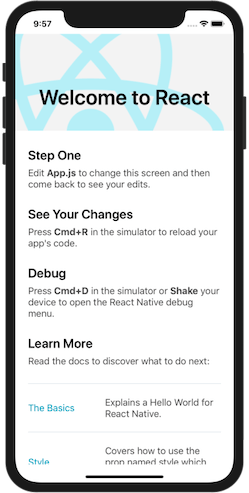
Create a React Native app using the following command. If you are already ready with that, you jump to the next step.
npx react-native init AppleAuthExample

OR

react-native init AppleAuthExample

cd AppleAuthExample
npx react-native run-ios
code .
{image owner: reactnative.dev}
STEP-2: Let's now start by installing our dependencies.
yarn add @invertase/react-native-apple-authentication

OR

npm i @invertase/react-native-apple-authentication
Once done with your installation, navigate to your ios folder and install the pods. To do that type the following.
cd ios && pod install
STEP-3:
Now navigate to your Login screen. And import the package along with Platform from the react-native package.
import { appleAuth, AppleButton, } from '@invertase/react-native-apple-authentication';
And now let's add the button onto the screen.
 const [isFromSubmitting, setFormSubmitting] = useState(false);

return(
     <>
       ..........
       .........
       {
         Platform.OS === 'ios' &&
            <View>
                          <AppleButton
                            buttonStyle={AppleButton.Style.BLACK} // BLACK or WHITE according to your taste
                            buttonType={AppleButton.Type.CONTINUE} // Other options: SIGN_UP, SIGN_IN
                            style={styles.appleButton} // Mention your button style
                            onPress={() => onAppleButtonPress()}
                          />
            </View>
     }
    ..........
    ..........
    </>
)
Here, we are making sure that the apple button only shows on an ios device and not on an android device. And that's the reason we are using Platform.OS==='ios' which returns true on an ios device. You can read more about the various params of the AppleButton here.
STEP-4: Let's now work upon the function onAppleButtonPress(). Create the function in the same file and add the following.
async function onAppleButtonPress() {

    const appleAuthRequestResponse = await appleAuth.performRequest({
      requestedOperation: appleAuth.Operation.LOGIN,
      requestedScopes: [appleAuth.Scope.EMAIL, appleAuth.Scope.FULL_NAME],
    });

    // get current authentication state for user
    const credentialState = await appleAuth.getCredentialStateForUser(appleAuthRequestResponse.user);

    const myData  = {
      ...appleAuthRequestResponse,
      type: 'sign-in',
    }

    // use credentialState response to ensure the user is authenticated
    if (credentialState === appleAuth.State.AUTHORIZED) {
      console.log('apple auth response is',JSON.stringify(appleAuthRequestResponse))
      // user is authenticated
      const socialID =  appleAuthRequestResponse.user ? appleAuthRequestResponse.user: ''
      console.log('user id',JSON.stringify(socialID))
      const name =  appleAuthRequestResponse.fullName?.givenName ? appleAuthRequestResponse.fullName?.givenName:'';
      console.log('name is',JSON.stringify(appleAuthRequestResponse.fullName))

      const emailID =  appleAuthRequestResponse.email ? appleAuthRequestResponse.email:'' ;
      console.log('email id',JSON.stringify(emailID))
}
Leave this as it is for now. We will come back again to this in a while.
STEP-5:
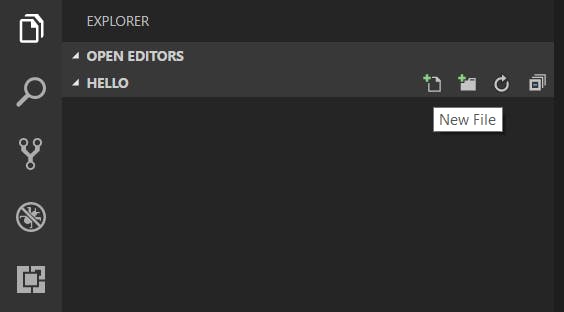
Create a new file with the name AppleSignin.js using the command touch AppleSignin.js or by simply clicking on the New File icon in the VS Code explorer or in any other Code editor you are using.
 {image owner: Visual Studio Code}
In the file add these lines.
import { BASE_URI } from "./config/uri";

const AppleSignIn = async ({ email, name,id, identityToken }) => {
  const signUpData = {
    email,
    name,
    id,
    identityToken
  };
  return new Promise(async (resolve, reject) => {
    try {
      const response = await fetch(`${BASE_URI}/signinapple`, {
        method: "POST",
        headers: { "Content-Type": "application/json" },
        body: JSON.stringify(signUpData),
      });
      console.log(JSON.stringify(signUpData));
      const jsonRes = await response.json();
      if (jsonRes.token) {
       /* Go on with requirements */
      } else {
        resolve(jsonRes);
      }
    } catch (error) {
      reject(error);
    }
  });
};

export { AppleSignIn };
Here, we are making a request to our backend API which is yet to be designed with the data we got from the Apple Servers.
STEP-6: Now let's go back to onAppleButtonPress() function. To the function, now add the following lines.
/* Continuing from where we left, i.e., after the  const emailID line... */

try {

      setFormSubmitting(true);
      const user = await AppleSignIn({
        email: emailID,
        name: name,
        id:socialID,
        identityToken: myData
      });
      if (user.error) {

        setFormSubmitting(false);

      }  else if (user.token) {

        setFormSubmitting(false);
        SimpleToast.show("Signed in successfully.");
        navigation.replace("Home");
      }
      else if (user) {
        setFormSubmitting(false);
        navigation.replace("LoginScreen");
      }
    } catch (error) {
      console.log("error occured at signin process ", error);
    }
   }
So overall, the function should look like this:
async function onAppleButtonPress() {

    const appleAuthRequestResponse = await appleAuth.performRequest({
      requestedOperation: appleAuth.Operation.LOGIN,
      requestedScopes: [appleAuth.Scope.EMAIL, appleAuth.Scope.FULL_NAME],
    });

    // get current authentication state for user
    const credentialState = await appleAuth.getCredentialStateForUser(appleAuthRequestResponse.user);

    const myData  = {
      ...appleAuthRequestResponse,
      type: 'sign-in',
    }

    // use credentialState response to ensure the user is authenticated
    if (credentialState === appleAuth.State.AUTHORIZED) {
      console.log('apple auth response is',JSON.stringify(appleAuthRequestResponse))
      // user is authenticated
      const socialID =  appleAuthRequestResponse.user ? appleAuthRequestResponse.user: ''
      console.log('user id',JSON.stringify(socialID))
      const name =  appleAuthRequestResponse.fullName?.givenName ? appleAuthRequestResponse.fullName?.givenName:'';
      console.log('name is',JSON.stringify(appleAuthRequestResponse.fullName))

      const emailID =  appleAuthRequestResponse.email ? appleAuthRequestResponse.email:'' ;
      console.log('email id',JSON.stringify(emailID))


    try {

      setFormSubmitting(true);
      const user = await AppleSignIn({
        email: emailID,
        name: name,
        id:socialID,
        identityToken: myData
      });
      if (user.error) {

        setFormSubmitting(false);

      }  else if (user.token) {

        setFormSubmitting(false);
        SimpleToast.show("Signed in successfully.");
        navigation.replace("Home");
      }
      else if (user) {
        setFormSubmitting(false);
        navigation.replace("LoginScreen");
      }
    } catch (error) {
      console.log("error occured at signin process ", error);
    }
   }
  }
Here, talking about what's happening, we are requesting the apple server to provide us with the details of the user for us to store in our database. With this, we are done with the frontend and it's time to move to our backend.
However, there is an important point to note here that Users, here, have a choice of either revealing or masking their email address which comes to you in this format:
${someRandomString}@privaterelay.appleid.com
In this case, you can either ask the user to provide their real email by navigating them onto a new screen and thereafter, updating their email or you can store their appleId in your database and continue authenticating them.
STEP-7:
Create a node js project using npm init -y && touch index.js && code . . If you are already ready with your backend, then let's start with Apple Sign in route.
Let's install our only dependency here.
npm i apple-signin-auth

OR

yarn add apple-signin-auth
STEP-8: Add the following lines to your auth file.
const appleSignin = require('apple-signin-auth');

router.post("/signinapple", async ( req, res ) => {
  const {
    email,
    name,
    id,
    identityToken
  } = req.body;

  const clientId = "org.reactjs.native.cubbard.cubbard";

  const { sub: userAppleId } = await appleSignin.
    verifyIdToken(
        identityToken.identityToken, {
        audience: clientId,
        ignoreExpiration: true, // ignore token expiry (never expires)
        }
    );

    const existingUser = await User.findOne({ appleId: id })

    if (!existingUser) {
        const userEmail = email ? email : `${name}@cubbard.com`;

        const newUser = new User({
            name,
            email:userEmail,
            appleId: id,
            password: id,
            createdAt :new Date(),
            updatedAt : null
        })

        newUser.save(( error, savedUser ) => {
            if (error) {
                console.log(error);
                return res.status(500).json({
                  error: "Sign up failed."
                });
            }


            const token = jwt.sign({
              _id: savedUser._id
            }, SECRET);
            //put token in cookie
            res.cookie("token", token, {
              expire: new Date() + 9999
            });

            return res.json({
              message: "Sign up Successful",
              token,
              user: {
                _id: savedUser._id,
                name: savedUser.name,
                email: savedUser.email
              },
            })
        })
    }
    else {

      existingUser.updatedAt = Date.now()
      const token = jwt.sign({
        _id: existingUser._id
      }, SECRET);
      //put token in cookie
      res.cookie("token", token, {
        expire: new Date() + 9999
      });

      return res.json({
        message: "Sign in Successful",
        token,
        user: {
          _id: existingUser._id,
          name: existingUser.name,
          email: existingUser.email
        },
      })

    }


});
Here, we are getting the details from our frontend. If the user already exists, we log him up into our application, and if the user doesn't exist then we create a new user in our backend and store it in our database. Save your project and host it on your servers.
I hope this helps you in your current or upcoming project. Thanks for your patient reading.
Like what you read? Support me by making a small donation here. 😇