

Sending Notifications to React Native App using FCM
Triggering Notifications to react native app through cloud functions (Battle-tested).


Sending periodic notifications to users is a great way to keep them engaged and also to let them know about something important in your app which you would not want them to miss out.
FCM (firebase cloud messaging), Expo Push Notification Service, and Apple Push Notification (APN) are the three ways by which you can notify users of your React Native App.
Today, I will discuss FCM. I have had to struggle earlier because of no clear guidance in this regard. So, I decided to come up with a battle-tested, and comprehensive guide on it. Ok, too many talks, let's code now! ✌️
Disclaimer :
This code is under production and works brilliantly well without any trouble whatsoever.
The number of packages we would be using today will be very little, in fact, two. So don't worry about the app size, it will be very minimal. 😉
Let begin with our regular steps with creating a react native app. To do so, launch your terminal or cmd and type the following line:
npx react-native init yourApp
Replace yourApp with your app name.
After all necessary installations are done, you should be presented with a screen similar to this in your device or emulator, or simulator depending on what you are using!
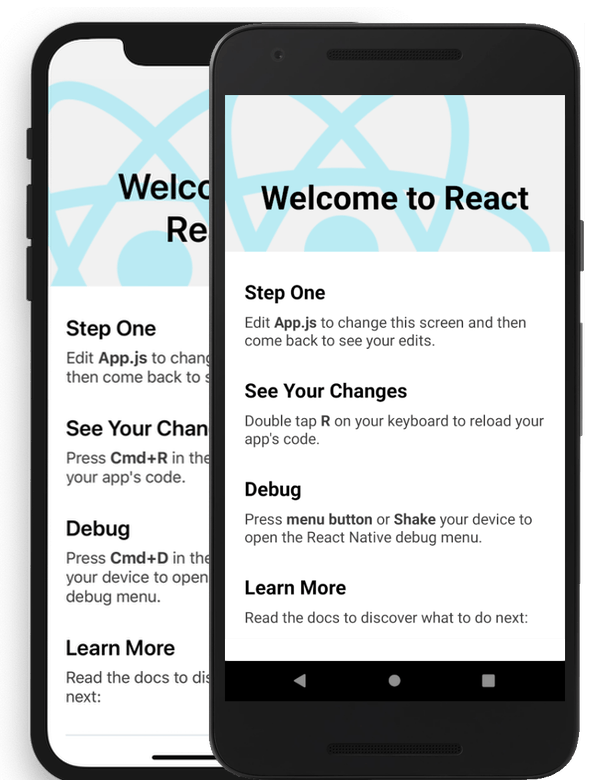
Image credits: reactnative.dev
Now, since we are using FCM, I assume that you are aware of all the setup procedures, if not, then head over to rnfirebase.io. Follow the guide, there and come back and continue with the rest here. Let’s install our dependencies.
Via yarn:
yarn add @react-native-firebase/app @react-native-firebase/messaging
Or via NPM:
npm install @react-native-firebase/app @react-native-firebase/messaging
Move to the root navigator or the screen which mounts up first like the home screen, and the following lines:
---------------------------
/* Your Regular Imports */
---------------------------
import messaging from "@react-native-firebase/messaging";
const FSM = messaging();

/* inside your Component class or function add the below line */
FSM.getToken().then((token) => {
/* send the token to firestore or realtime database. */
      userRef.doc(`${user.uid}`).update({ pushToken: token });
    });
That’s all. We are done with all the configurations needed for our app to receive the notifications.
Now, let me explain to you what’s happening here.
We are importing the messaging module, which is FCM in itself to request our device to give us the push notification token and once we get that token, we are storing the same in our database so that we can remotely target that device to receive a notification either through a custom cloud function or FCM console. Let’s try this out!
Head over to your FCM console. You can find it under A/B Testing in the Engage section of your console. Follow the below steps to trigger a test notification.
- Click on New Notification.
- Give some title and text for your notification, optionally, you can also add an image to your notification.
- Then move to your database and copy your target device’s push notification token.
- Click on Send test message.
- Paste the token and click on the plus button and hit Test.
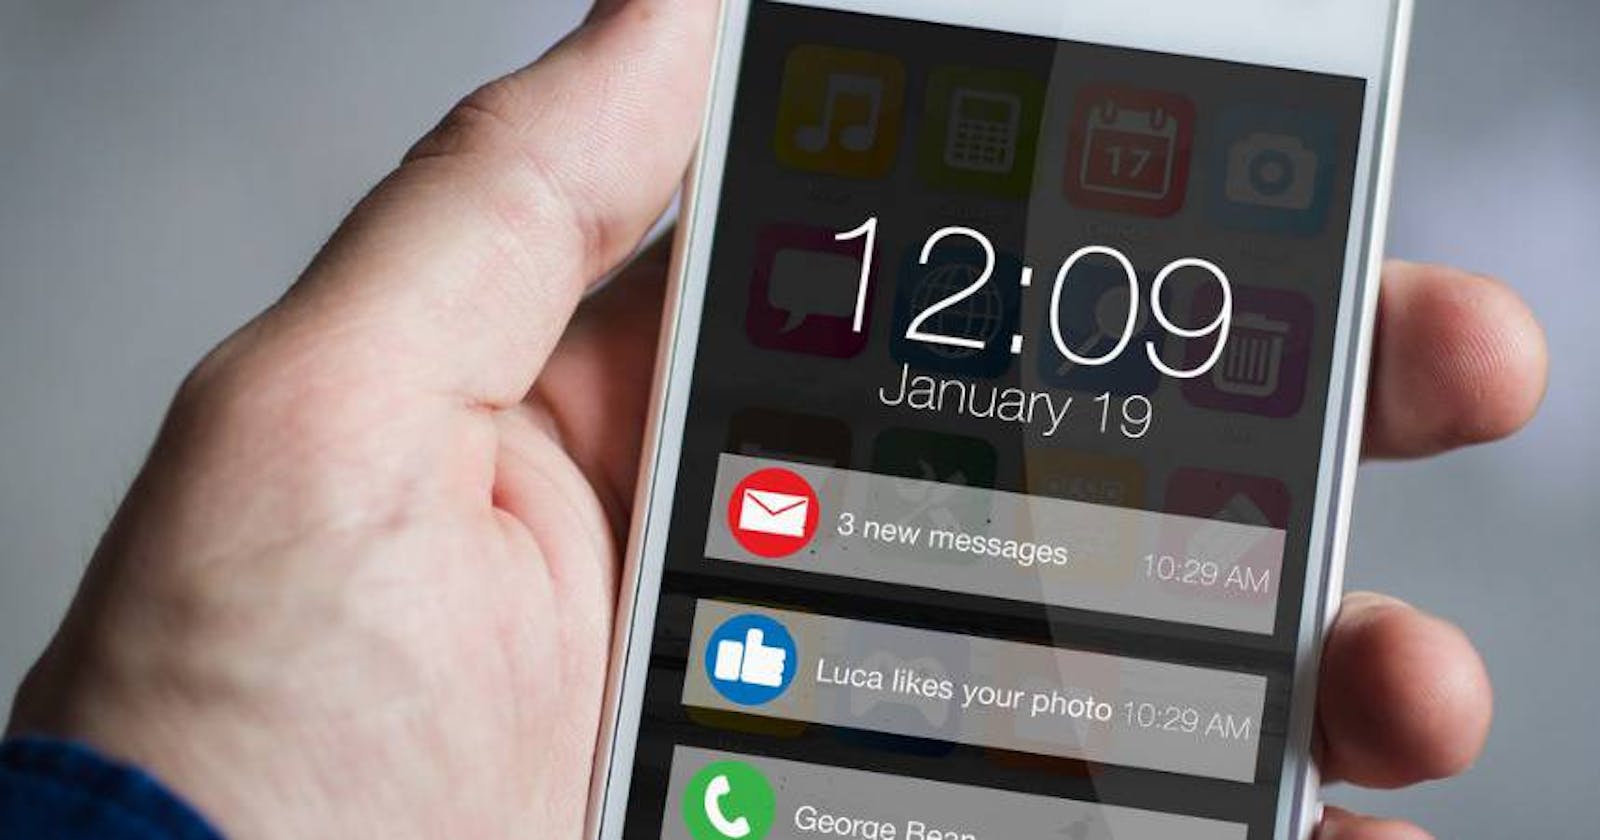
Close your app but make sure it is running in the background. After a few seconds, you should get a notification similar to this.

Now, let’s start with our cloud function that will trigger this notification automatically depending on the event which you want. Follow the below steps. If you already have firebase tools installed and you have already logged in to your CLI before, then skip to step-3.
- Launch your terminal and type the following :
npm install -g firebase-tools
- Once done, log in to Firebase with the CLI. This process will automatically open a browser instance giving you the ability to login into your Firebase account. For that, type :
firebase login
- Finally, type:
firebase init functions. You will be offered two options for language support, for this tutorial select JavaScript. Allow the CLI to install dependencies using NPM. When completed, your project structure will look like this:
 yourFolder
 +
 +
 ---- firebase.json  // Describes properties for your project
 +
 +
 ---- functions/     // Directory containing all your functions code
- Now let’s start writing our function.
const functions = require("firebase-functions"); // import functions module
const admin = require("firebase-admin"); // import admin to get access to all parts of your firebase

exports.notify = functions.firestore
  .document("/users/{document=**}") // replace users with your collection
  .onCreate(e => {
    const pushToken = e.data().pushToken;

   let payload = {
          notification: {
            title: `Holla! You are awesome 🤩 .`, // Put title of your choice
            body: "Thanks for downloading our app. We hope you would like it!", // Put body of your choice
          },
          data: {
            field: e.data().property, // some data if you wish to send
          },
          token: pushToken,
        };

        return admin
          .messaging()
          .send(payload)
          .then(response => {
            console.log(response);
          })
          .catch(error => {
            console.log(error);
          });
  });
- Now deploy this function using the command:
firebase deploy. - From now, every time a new user is creating an account in your app, he/she will get this notification.

Bonus 🙈
For a user to receive notification, the app should either be quit or running in the background. If the app is in the foreground, the user will not receive any notification.
Now, if you wish to perform some action when the users tap on a notification, then head over to your HomeScreen of your app and add the following lines:
import messaging from "@react-native-firebase/messaging"; // import messaging module

/* Add below lines inside your component class or function */

messaging()?.setBackgroundMessageHandler(async (remoteMessage) => {
    await navigation.navigate("YourScreen", {          // replace YourScreen with your screen name
      someData: remoteMessage.data.someData,   // replace someData with the data you sent with the notification
    });
  });

  messaging()?.onNotificationOpenedApp(async (remoteMessage) => {
    await navigation.navigate("YourScreen", {           // replace YourScreen with your screen name
      someData: remoteMessage.data.someData,    // replace someData with the data you sent with the notification
    });
    return;
  });
Now the users will be navigated to your desired screen when they tap on the notification.
Note: This works only when the app is running in the background.
That’s all folks. I hope you were helped by this in some way. Do share it with folks, you think, will be benefited from this. Cheers! 🍻
Stay Safe, put on a Mask and Sanitize yourself as much as you can! 😊
Like what you read? Support me by making a small donation here. 😇
Subscribe for Part 2 which is for iOS app. ✌️